I may be a tad excited about these, because…
a. I am such a beginner and novice
b. I have never had things I made with my hands turn out that great
c. when I do try a DIY, it’s at best o-kay, but never quite there.
d. I really love doing stuff like this and have been hoping to improve as I work little by little
So.
For the time ever, I am completely happy with this project.
My pictures will not include tutorial instructions. Just because I did it once doesn’t qualify me to do that. = )
Here is the best tutorial I found.
And here is my favorite video.
****
My total cost was about $44.
Broken down it looks like this:
Foam: 17.99
Spray adhesive: 4.19
Batting: 10.19
Fabric: $13
Staple gun: borrowed *Thanks, C and C!* = )
It was actually less than that since I had coupons for money off the total purchase. All in all, it’s not bad to redo four chairs at about $10 per chair. Woohoo!
****
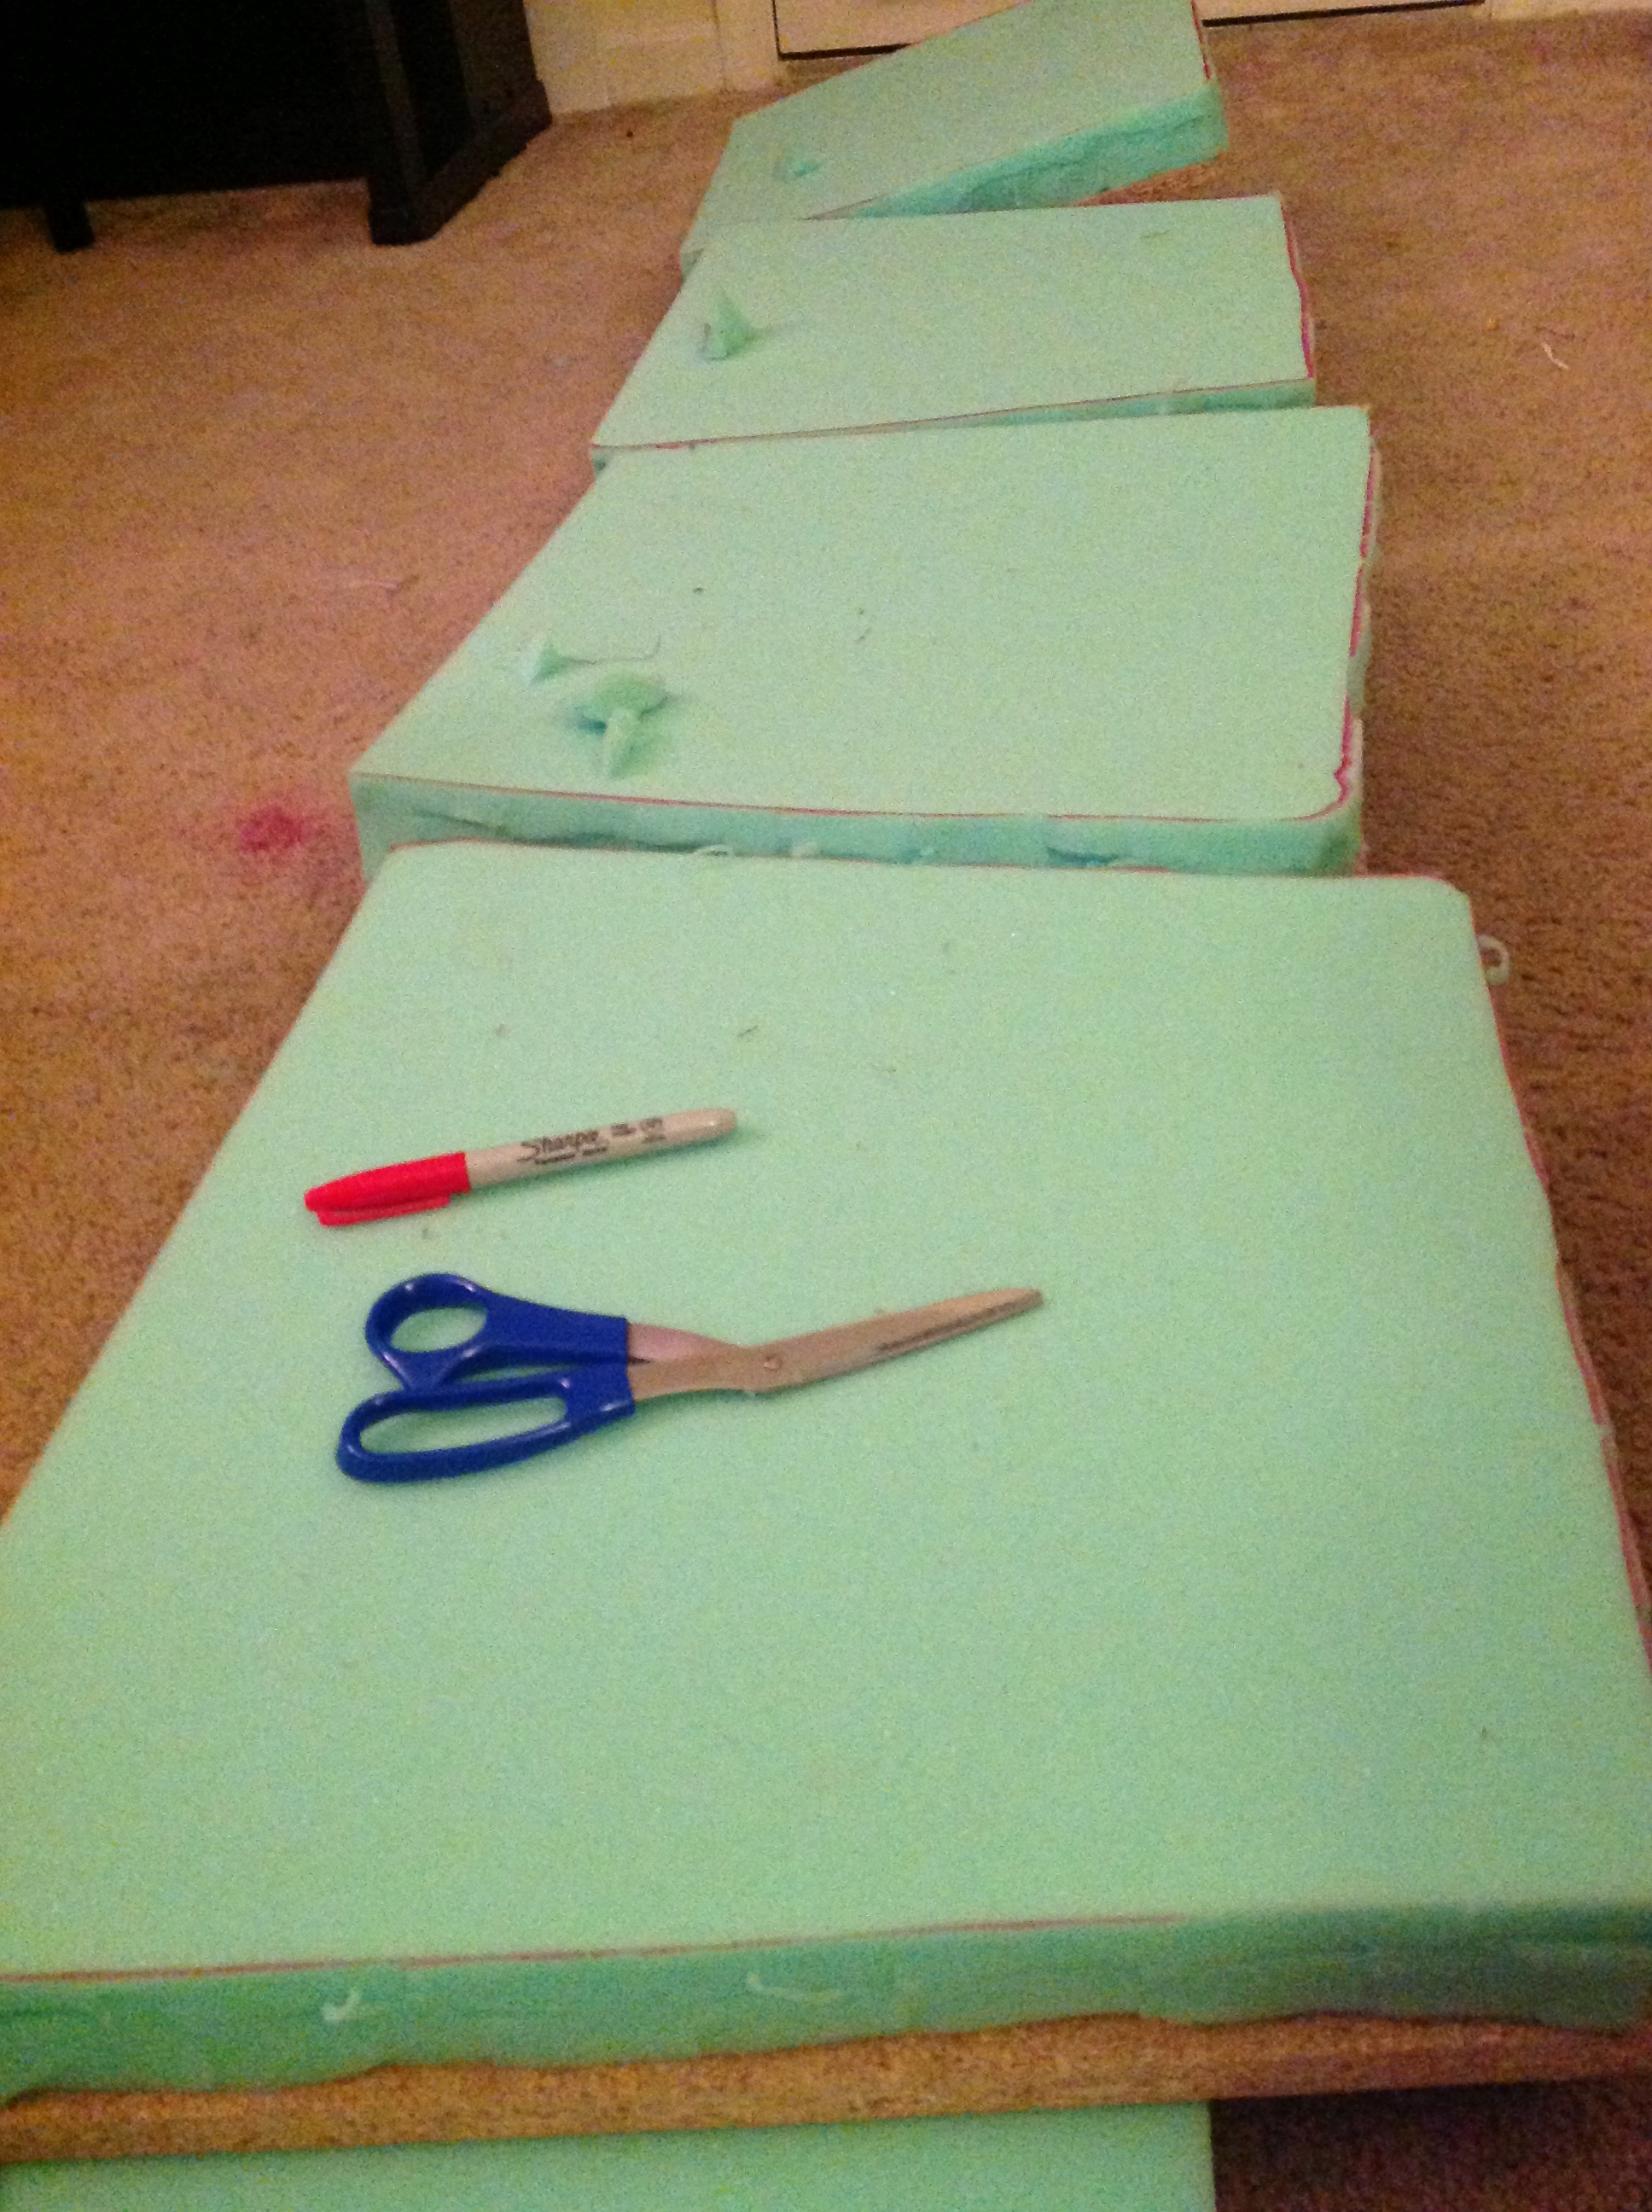
Here are my in the process pictures.


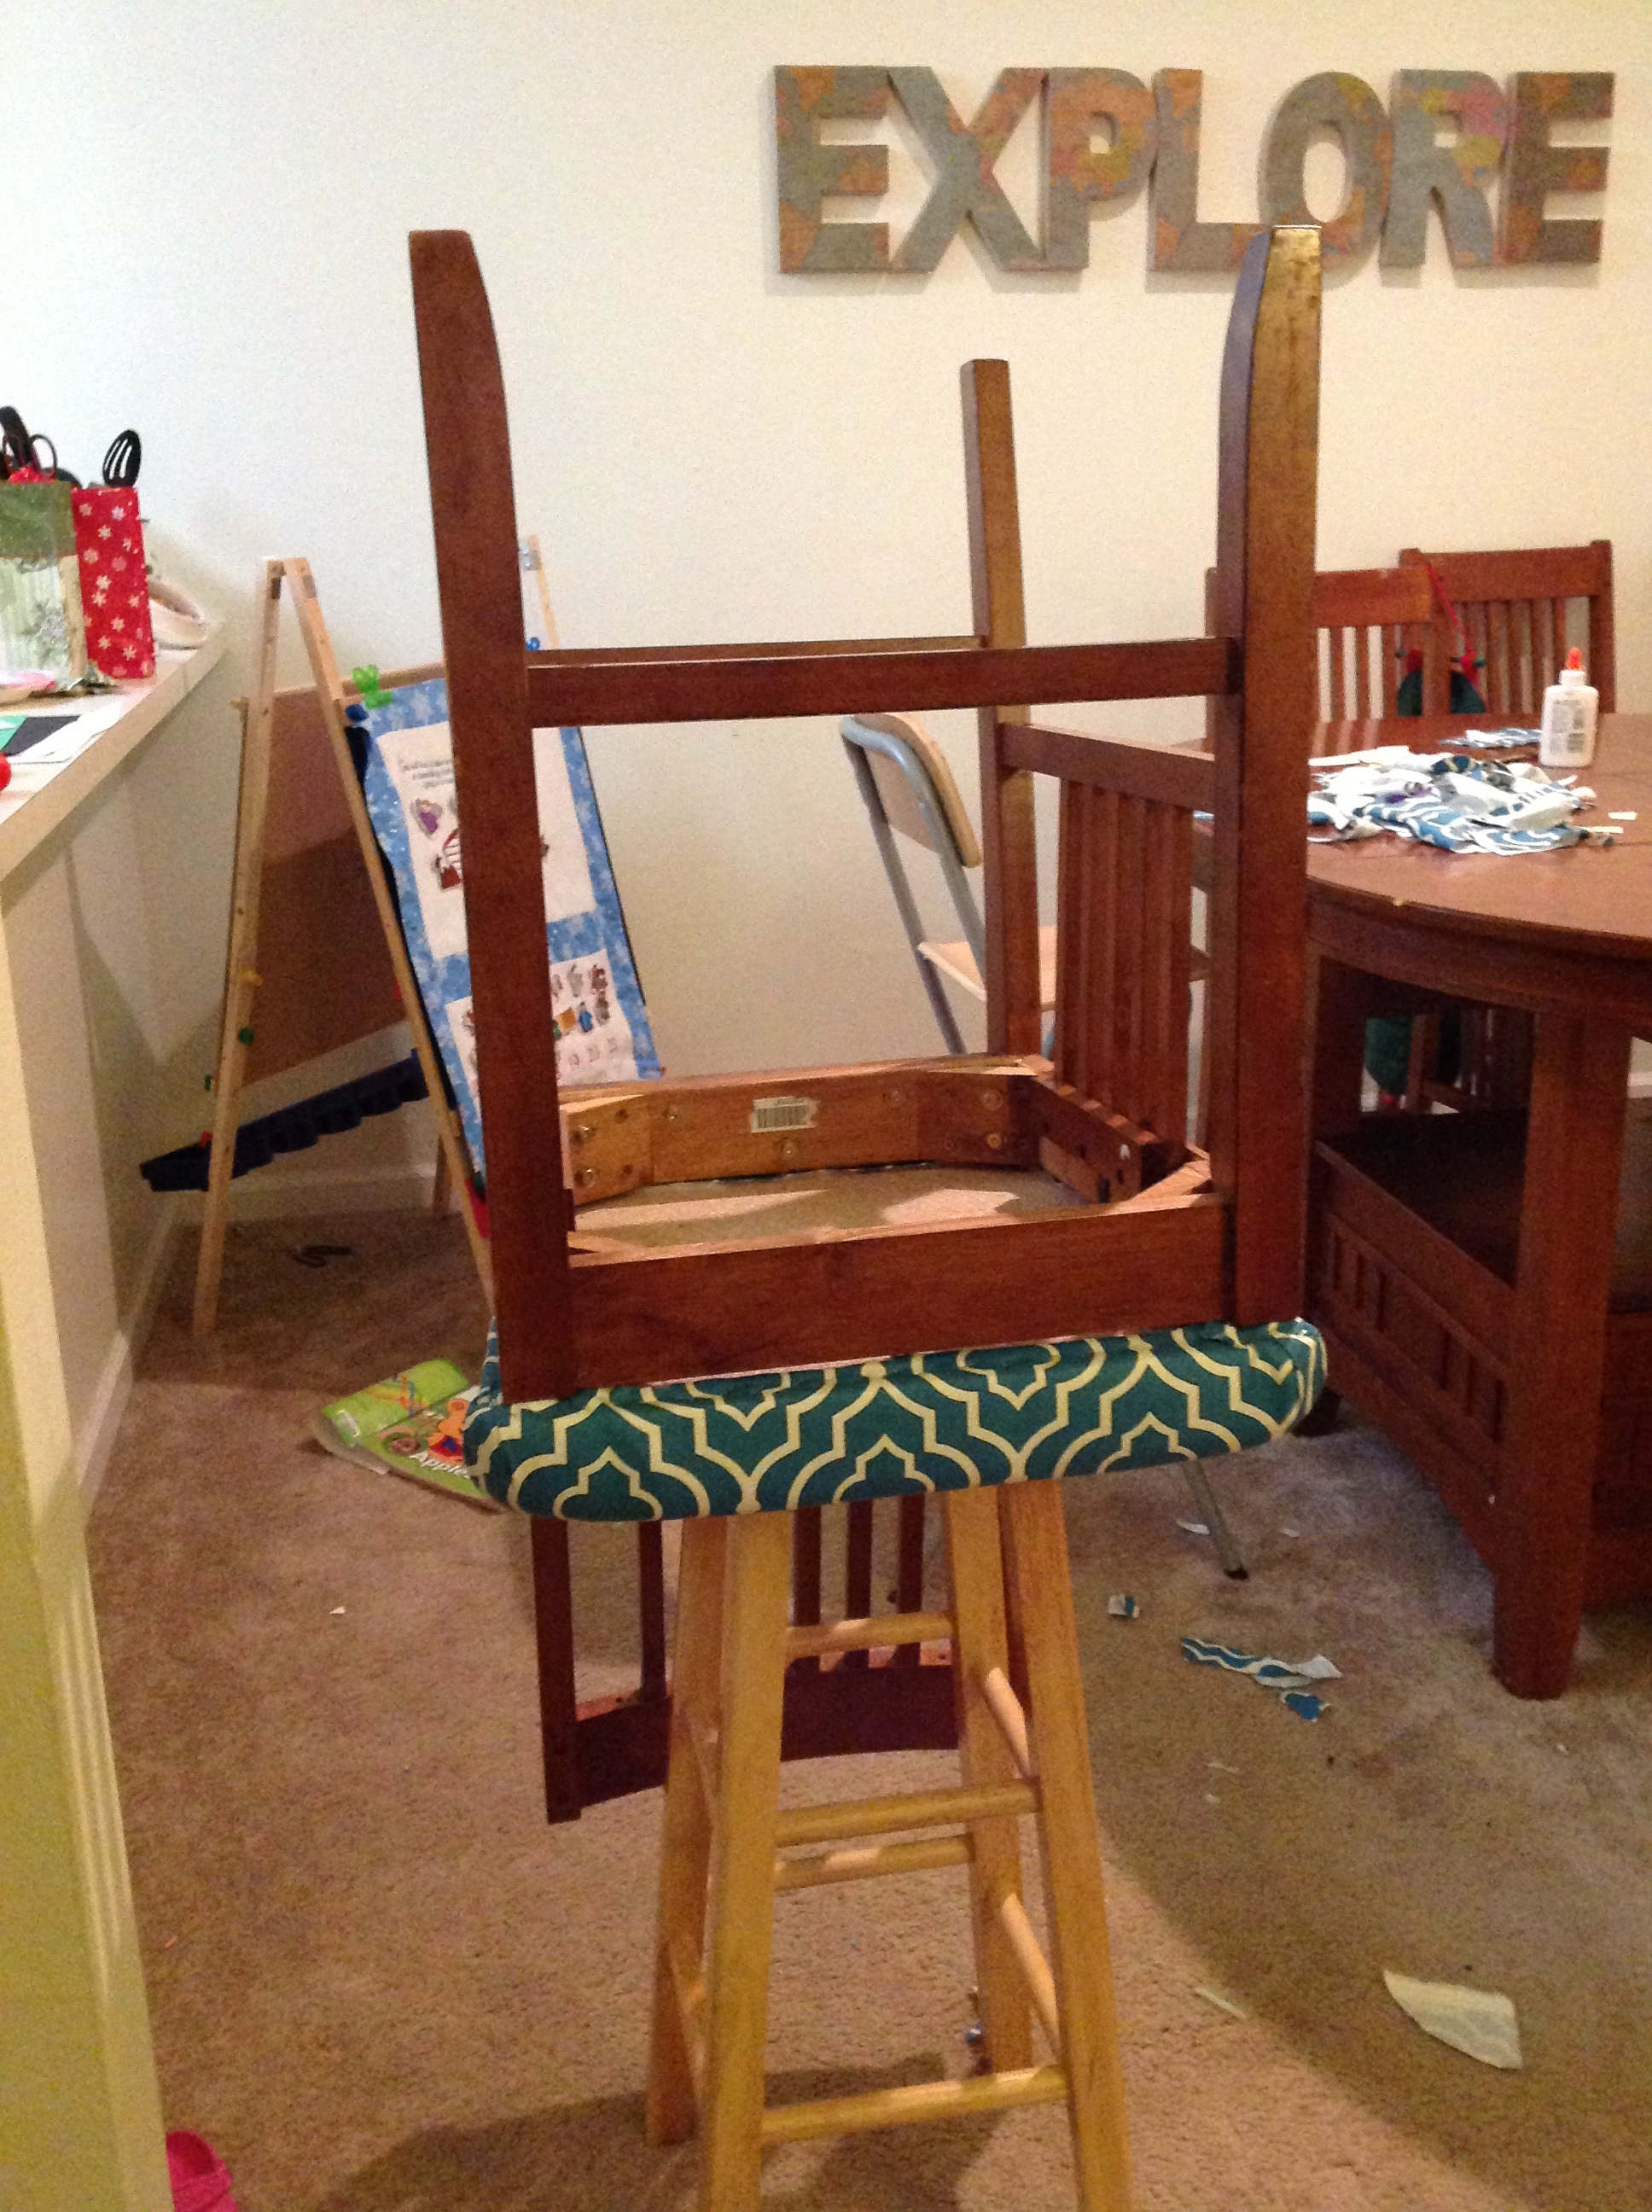


If you’ve ever thought about trying this, I say go for it! I wanted to for at least a year.
It was pretty straightforward; definitely took some elbow grease on the removal part. The only thing that actually gave me trouble was re-filling the staple gun. = / By no fault of the equipment, I assure you.
I completed it in twenty-four hours with only six of those hours being actual work time. And there were two, three, or four kids with me most of that time.
Here are eleven things that I think might be helpful for those who have never done it before. Coming from someone who had never done it before. The tutorials don’t tell you everything.
1. Removing the old cover is the hardest part. Perhaps I didn’t have the right tools, but it was almost impossible for me to pull those staples out. I ended up using a screwdriver stuck in between the staples and just prying off the fabric, which did pull many of the staples as well. Between the screwdriver, scissors, and pliers, we got the job done.
2. It is worth it to remove the old. So many things I saw said just to leave it on and recover it, but that to me makes no sense. It’s old. It’s dirty. According to the experts the foam is only meant to last five years anyways, so it’s really worth it to just completely redo it.
3. Follow the steps exactly. I’m the type of person to skip steps that I don’t understand or see useful; however, because this was a major undertaking for me, I followed all the steps. And it turned out the best! Amazing.
4. Cut costs only in ways that will not hinder the quality of the product. From no.3, I saw no point in using spray adhesive. It was just one more six dollar something to buy. But on this end, I get it! And I have it in my supplies now for future projects. I bought my other items over a few weeks time trying to wisely use my Joann’s coupons. This helped a lot. If I had bought a non-decorator type fabric to be more cost-effective like I was tempted to, it would have been bad. By the way, I only do projects like this every couple of months, but it is so worth to get the Joann’s emails and coupons. I highly recommend it!
5. Don’t be afraid to ask questions at your local craft or fabric store. Most of this I had never done or even heard of before. I had to ask about foam, fabric, nails, and batting. And my friend had to figure out how much fabric I would need. I’m sure there will be more questions on the next time around, but I’m learning little by little. It would have been a disaster if I tried to figure it all out on my own.
6. Regarding cutting the foam: I didn’t think cutting high density two-inch foam would be hard, but I should have. Someone online suggested that turkey carvers work really well??? But seeing as I was fresh out of my turkey carver supply, my scissors had to do. What I found was that cutting only about an inch deep on the first cut, and then on the second cut cutting the rest of the way through worked fine. It just took a little longer than I expected.
7. The fact that I couldn’t perfectly straighten my batting while stapling it on worried me that the wrinkles would show through in the finished product, but they did not.
8. Everything I read said to keep it really tight when stapling the fabric so I did it as tight as I possibly could, making the staples about a half inch to an inch apart.
9. The corners you just kind of have to figure out for yourself, but I was happy with how mine turned out.
10. Backing up, when I cut the fabric, I put it all down on the table making sure it was the direction I wanted the pattern facing. Then I put all the pieces down and cut one by one to make sure it was all the same.
11. Last but not least, I need to Scotch Guard these! Especially with kids, Everything has been great so far, but I can hear the clock ticking…
****
We’ve been so happy with these! My husband may or may not have said, “Wow, baby, those look better than I ever expected them to.” = ) It’s okay. They look better than I expected them to as well.
Yay for projects!
*linked up at Thrifty Decor Chick*